Are you looking to add a fresh and nutritious touch to your meals? Look no further than growing your very own microgreens at home! With microgreens kits readily available, you can easily cultivate these tiny but mighty greens right in your kitchen or windowsill. Not only are they packed with flavor, but they are also rich in nutrients, making them a perfect addition to any dish. Start your microgreens journey today and enjoy the satisfaction of harvesting your own homegrown greens for a truly farm-to-table experience. Have you ever wanted to take your cooking to the next level by growing your own fresh and flavorful microgreens at home? In this article, we will guide you through the process of growing your own microgreens, from selecting the right seeds to harvesting your delicious greens. Let’s get started on this exciting journey of homegrown microgreens!
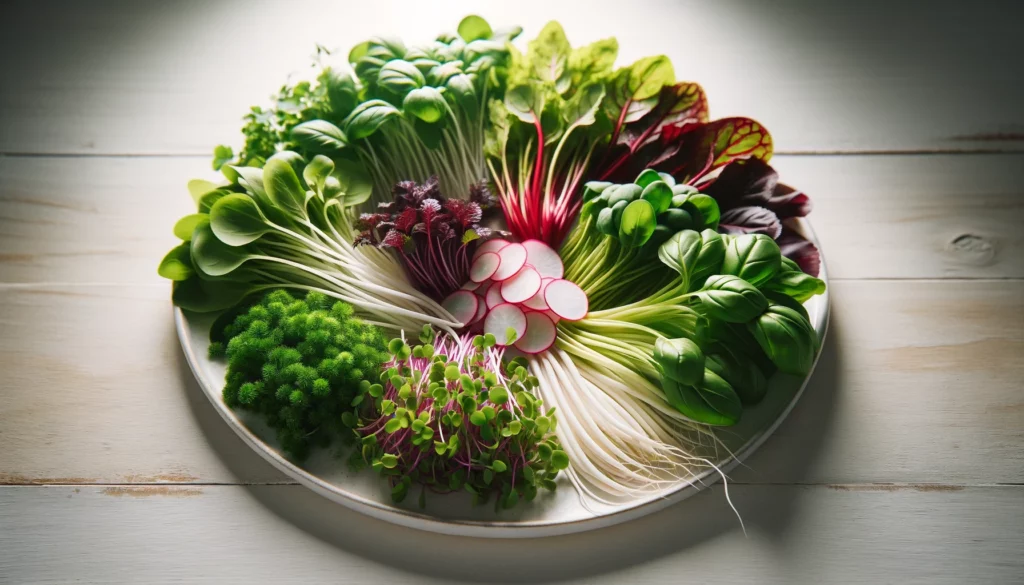
Why Choose to Grow Your Own Microgreens?
Growing your own microgreens at home not only allows you to have a fresh supply of nutritious greens at your fingertips but also gives you the opportunity to experiment with a variety of flavors and textures that may not be readily available at your local supermarket. Additionally, growing microgreens is a fun and rewarding activity that can be done year-round, regardless of the climate or season. By choosing to grow your own microgreens, you can ensure that you are consuming the freshest and most flavorful greens possible.
Benefits of Growing Microgreens at Home
Growing microgreens at home offers a range of benefits, including:
- Freshness: Harvesting microgreens at home ensures that you are consuming the freshest greens.
- Flavor: Homegrown microgreens are packed with intense flavors that can elevate any dish.
- Nutrients: Microgreens are rich in essential vitamins, minerals, and antioxidants.
- Cost-effective: Growing your own microgreens is more cost-effective than purchasing them at the store.
- Sustainability: By growing your own food at home, you reduce your carbon footprint and contribute to sustainability efforts.
Choosing the Right Microgreens Seeds
Selecting the right seeds is crucial to the success of your microgreens growing venture. There are countless varieties of seeds available, each with its own unique flavor profile and nutritional content. When choosing seeds for your microgreens, consider factors such as taste preference, growth time, and ease of cultivation.
Popular Microgreens Seeds
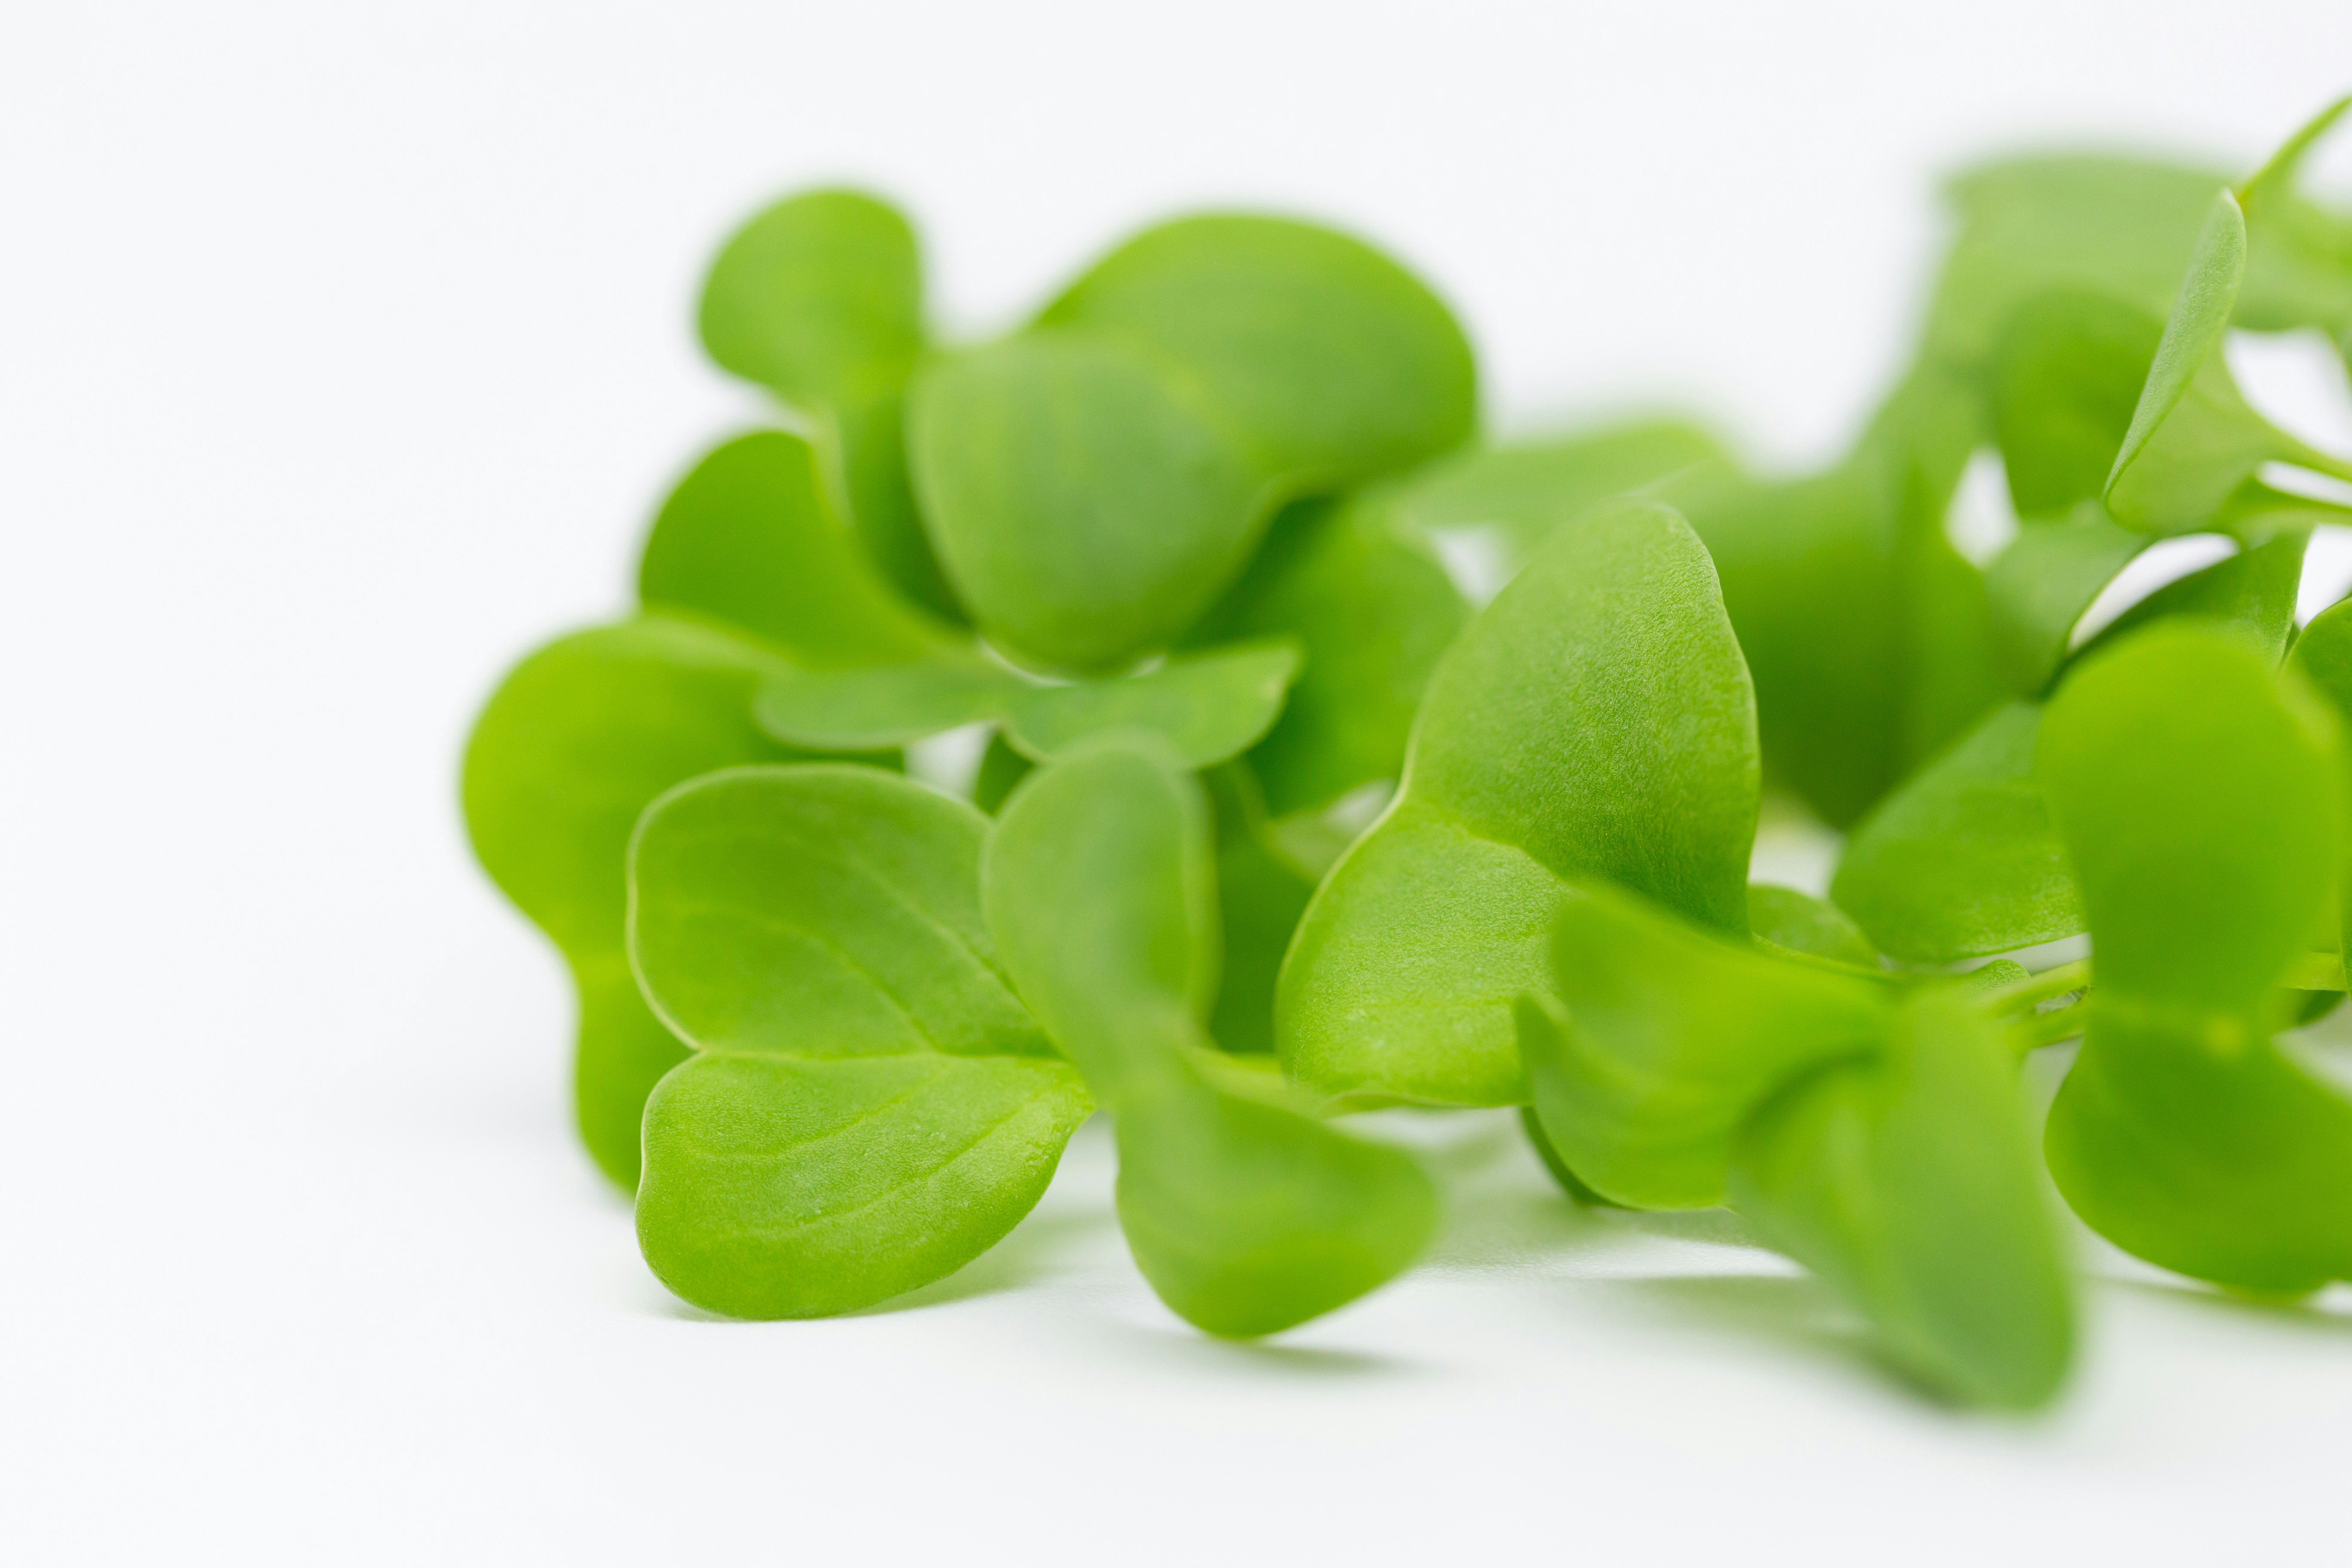
Some popular microgreens seeds to consider for your home garden include:
- Broccoli: Broccoli microgreens are known for their mild, nutty flavor and high nutritional value.
- Radish: Radish microgreens add a spicy kick to dishes and are quick to grow.
- Sunflower: Sunflower microgreens have a mild, nutty flavor and are rich in essential nutrients.
- Pea: Pea microgreens have a sweet, fresh flavor and are packed with protein.
- Basil: Basil microgreens are aromatic and flavorful, perfect for adding to salads and pasta dishes.
Seed Selection Tips
When selecting seeds for your microgreens garden, keep the following tips in mind:
- Opt for organic, non-GMO seeds to ensure the highest quality and purity.
- Choose seeds that are specifically labeled for microgreens production.
- Experiment with different seed varieties to discover your favorite flavors and textures.
Supplies Needed for Growing Microgreens
Before you start planting your microgreens seeds, make sure you have all the necessary supplies on hand. While growing microgreens does not require a large investment in equipment, there are a few essential items that will help you get started on the right foot.
Essential Supplies for Growing Microgreens
Here are the essential supplies you will need to grow microgreens at home:
| Item | Description |
|---|---|
| Seeds | High-quality seeds for microgreens |
| Growing Medium | Soil or growing pads |
| Containers | Trays or shallow containers |
| Watering Can | For watering your microgreens |
| Spray Bottle | For misting your seeds |
| Light Source | Natural or artificial light source |
Optional Supplies for Growing Microgreens
Depending on your setup and preferences, you may also find the following optional supplies to be helpful:
- Heat Mat: A heat mat can help maintain an optimal temperature for seed germination.
- Humidity Dome: A humidity dome can create a greenhouse effect and promote seedling growth.
- Grow Lights: If you do not have access to natural light, grow lights can provide the necessary light for your microgreens.
Planting and Growing Microgreens
Now that you have gathered all the necessary supplies, it’s time to plant your microgreens seeds and watch them grow into vibrant greenery. Planting and growing microgreens is a straightforward process that requires minimal effort and expertise, making it an ideal activity for beginners and seasoned gardeners alike.
Step-by-Step Guide to Planting Microgreens
Follow these steps to plant and grow your own microgreens at home:
- Prepare the Growing Medium: Fill your containers with soil or growing pads, leaving some space at the top for watering.
- Plant the Seeds: Scatter the seeds evenly over the surface of the soil, pressing them lightly into the growing medium.
- Water the Seeds: Use a watering can or spray bottle to water the seeds gently, ensuring that the soil remains moist but not waterlogged.
- Provide Light: Place your containers in a sunny location or under grow lights, ensuring that your microgreens receive adequate light for growth.
- Monitor Growth: Keep an eye on your microgreens as they grow, making sure to water them regularly and adjust the light exposure as needed.
Tips for Successful Microgreens Growth
To ensure the successful growth of your microgreens, keep the following tips in mind:
- Maintain consistent moisture levels in the soil to prevent overwatering or underwatering.
- Provide adequate airflow around your microgreens to prevent mold growth.
- Rotate your trays regularly to promote even growth and prevent leggy microgreens.
- Harvest your microgreens at the right time to enjoy the best flavors and nutritional content.
Harvesting and Enjoying Your Microgreens
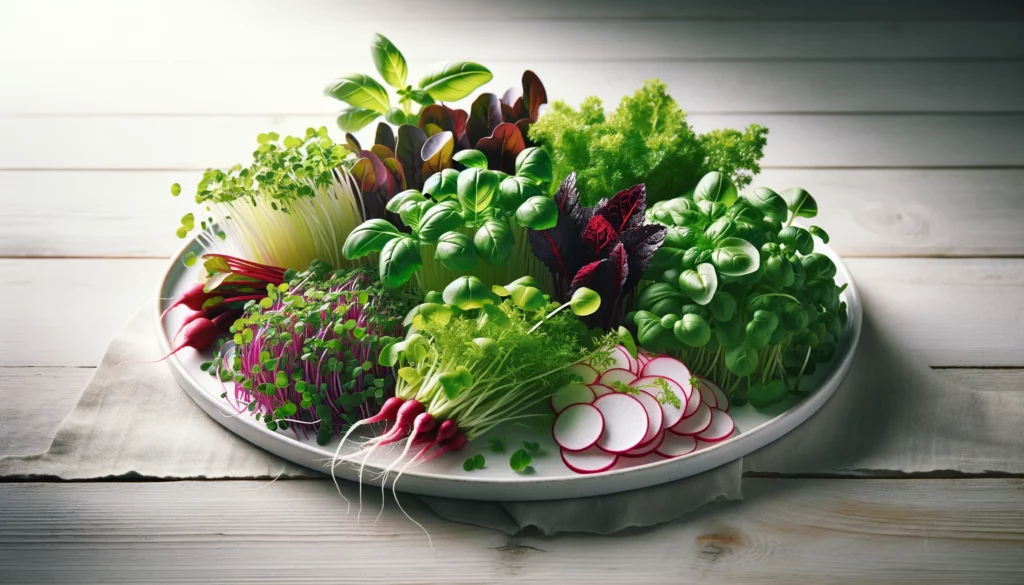
As your microgreens mature and reach their peak size, it’s time to harvest them and enjoy the fruits of your labor. Harvesting microgreens is a simple and satisfying process that allows you to savor the fresh flavors of your homegrown greens in a variety of dishes.
Harvesting Microgreens
Follow these steps to harvest your microgreens at the peak of freshness:
- Check the Sprouts: Once your microgreens have reached the desired size, check that they are vibrant and full of flavor.
- Cut the Greens: Using clean scissors or a sharp knife, cut the microgreens just above the soil line, leaving the roots intact.
- Rinse and Enjoy: Rinse the harvested microgreens under cool water to remove any soil or debris, then enjoy them fresh in salads, sandwiches, smoothies, and more.
Creative Ways to Enjoy Microgreens
Microgreens can be enjoyed in a variety of ways, adding flavor and nutrition to your favorite dishes. Here are some creative ways to incorporate microgreens into your meals:
- Topper: Sprinkle microgreens on top of soups, salads, pizzas, and omelets for a burst of freshness.
- Garnish: Use microgreens as a colorful garnish for appetizers, entrees, and cocktails.
- Smoothies: Blend microgreens into smoothies and juices for an extra boost of vitamins and minerals.
- Wraps: Wrap microgreens in tortillas, lettuce leaves, or rice paper for a nutritious and flavorful meal.
Troubleshooting Common Microgreens Growing Issues
While growing microgreens is a relatively simple and straightforward process, you may encounter some common issues along the way. By being aware of these potential problems and knowing how to address them, you can ensure the success of your microgreens growing venture.
Common Microgreens Growing Issues
Some common issues that you may encounter when growing microgreens include:
- Leggy Growth: Leggy microgreens are tall and spindly, indicating insufficient light or overcrowding.
- Mold Growth: Mold growth on microgreens can be caused by excessive moisture or poor air circulation.
- Yellowing Leaves: Yellowing leaves may indicate nutrient deficiencies or overwatering.
- Slow Growth: Slow microgreen growth may be due to inadequate light, improper watering, or cold temperatures.
Solutions for Microgreens Growing Issues
To address common microgreens growing issues, consider the following solutions:
- Increase light exposure by moving your containers to a sunnier location or using grow lights.
- Improve air circulation by rotating your trays regularly and reducing humidity levels.
- Adjust watering practices to ensure that your microgreens receive the right amount of moisture.
- Monitor temperature levels and provide a warm, consistent environment for optimal growth.
Conclusion
Growing your own microgreens at home is a rewarding and enjoyable experience that allows you to savor the fresh flavors of these nutritious greens in a variety of dishes. By selecting the right seeds, gathering the necessary supplies, and following best practices for planting and growing microgreens, you can cultivate a bountiful harvest of vibrant greenery right in your own kitchen. Start your microgreens growing journey today and discover the joys of homegrown freshness and flavor! Let your culinary creativity flourish with your very own mini garden of microgreens.

Leave a Reply