If you’ve ever wanted to try growing vegetables, kale is a great place to start. Known for its health benefits and versatility in the kitchen, kale is a leafy green that can quickly be grown at home. In this article, you will discover the essential steps and tips for successfully growing kale in your backyard or even in containers. From selecting the suitable variety to caring for your plants, you’ll be on your way to producing an abundant and delicious kale harvest in no time.
Selecting a Kale Variety
Consider Your Climate
When choosing a kale variety, it’s essential to consider the climate in which you live. Kale is a hardy vegetable that can tolerate various temperatures, but different varieties have different temperature preferences. Some kale varieties, such as curly and red Russian kale, do well in cooler climates and can withstand frost. Others, like lacinato kale, thrive in warmer climates. So, before selecting a kale variety, assess your environment and choose one suitable for your region’s temperature extremes.
Choose the Right Type of Kale
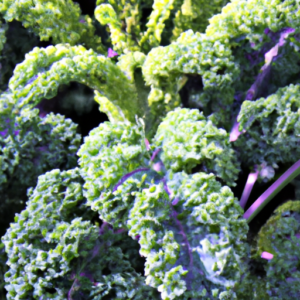
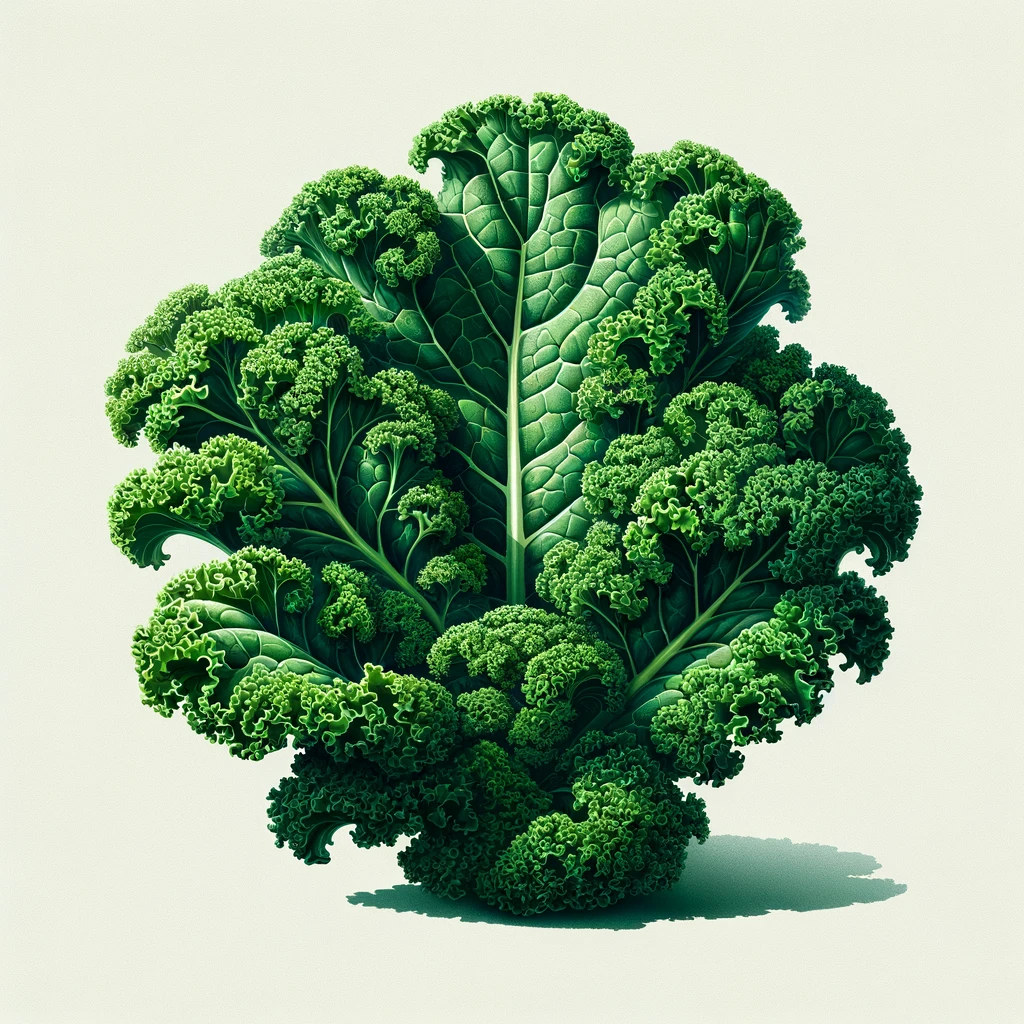
There are several types of kale, each with its unique characteristics and flavors. Common types of kale include curly kale, lacinato kale (also known as dinosaur kale or Tuscan kale), red Russian kale, and Siberian kale. Curly kale has ruffled leaves and a slightly bitter taste, while lacinato kale has smooth, dark green leaves and a milder flavor. Red Russian kale has purple stems and leaves with a sweet taste, and Siberian kale is known for its hardiness and cold tolerance. Please take a look at the texture and taste you prefer when choosing the type of kale to grow in your garden.
Research Different Varieties
Once you’ve determined the type of kale that suits your climate and taste preferences, it’s time to research the different varieties within that type. Each array may have unique characteristics such as leaf color, size, shape, or growth habit. Some varieties are better suited for fresh salads, while others are ideal for cooking or juicing. Please be sure to look for reputable seed suppliers or nurseries that offer a wide range of kale varieties, and read customer reviews or ask experienced gardeners for recommendations. Researching different types will ensure you select the best kale variety for your needs and preferences.
Preparing the Soil
Choose a Suitable Location
Before you start planting kale, choosing a suitable location in your garden is essential. Kale thrives in full sun but can tolerate partial shade, so pick a spot that receives at least six hours of direct sunlight daily. Also, could you consider the soil drainage in the area? Kale prefers well-drained soil, so avoid low-lying areas where water accumulates. Lastly, ensure that the location is easily accessible for watering, harvesting, and maintenance.
Test and Amend the Soil
To grow healthy kale, it’s crucial to test your soil’s pH and nutrient levels. You can purchase a soil test kit from a garden center or send a soil sample to a local agricultural extension office for analysis. Ideally, kale prefers slightly acidic soil with a pH between 6.0 and 7.5. You can lower the pH by adding sulfur or peat moss if the pH is too high. Furthermore, amend the soil with organic matter such as compost or well-rotted manure to improve its fertility and structure. This will provide the kale with the necessary nutrients and ensure optimal growth.
Improve Drainage and Moisture Retention
Proper drainage and moisture retention are vital for the health of your kale plants. If your soil has poor drainage, consider adding organic matter such as compost or sand to improve the soil structure and allow excess water to drain. On the other hand, if you have sandy soil that doesn’t retain moisture well, amend it with organic matter to increase its water-holding capacity. This will help prevent waterlogged and drought-stressed conditions, providing your kale with the right moisture balance for optimal growth.
Starting from Seeds
Timing
When starting kale from seeds, timing is crucial. Kale is a cool-season crop that thrives in temperatures between 60°F and 75°F. Plan to sow the seeds in early spring, about four to six weeks before the last frost date in your area. Start the seeds indoors in mid-summer for fall harvest and transplant them outdoors six to eight weeks before the first frost. You’ll give your kale plants the best chance to establish and produce a bountiful harvest by timing your seed sowing correctly.
Germination
Start by soaking the kale seeds in water overnight to ensure successful germination. This will help loosen the seed coat and promote quicker sprouting. Fill seed trays or pots with a well-draining seed starting mix, and sow the seeds about half an inch deep. Keep the soil moist by misting it with water or using a bottom watering method. Cover the trays with a plastic dome or wrap to create a greenhouse-like environment that retains moisture. Place the trays in a warm location with indirect sunlight until the seeds germinate, usually within 7 to 10 days.
Transplanting Seedlings
Once the kale seedlings have developed their second set of true leaves, they can be transplanted into the garden. Choose a cloudy or overcast day to minimize stress on the young plants. Prepare the planting holes by loosening the soil and amending it with compost or organic fertilizer. Dig a hole slightly larger than the seedling’s root ball and carefully transplant the seedling, ensuring that it is planted at the same depth it was in the seed tray. Water the transplanted seedlings thoroughly to help them establish in their new environment.

Planting Kale
Planning the Garden Layout
Before planting your kale, take some time to plan the layout of your garden. Consider the available space, sunlight exposure, and other companion plants you may want to grow alongside your kale. Kale grows well in raised beds, containers, or directly in the ground. If planting in-ground, leave enough space between rows for easy access and airflow. Alternatively, companion planting kale with other vegetables such as carrots, beets, or onions can help maximize space and provide mutual benefits by deterring pests or attracting beneficial insects.
Spacing
Proper spacing is crucial for healthy kale plants. Space the kale plants about 18 to 24 inches apart, allowing enough room for each plant to spread and grow. If planting in rows, space the rows approximately 2 to 3 feet apart to ensure adequate airflow between the plants. Proper spacing reduces the risk of diseases such as powdery mildew and allows each kale plant to receive sufficient sunlight, water, and nutrients for optimal growth.
Planting Techniques
When planting kale, use proper techniques to ensure the best results. Dig a hole slightly wider and deeper than the seedling’s root ball, ensuring the top of the root ball is level with the soil surface. Gently loosen the root ball and place the seedling into the hole, backfilling it with soil and lightly firming it around the plant. Water the newly planted seedlings thoroughly to settle the soil around the roots and provide essential moisture. Avoid planting kale too deep or burying the crown, which can lead to rot and poor growth.
Providing Adequate Sunlight
Determine Light Requirements
Kale is a sun-loving plant that thrives in full sun. However, it can also tolerate partial shade. To determine the light requirements for your kale, please take a look at the area where you plan to grow it throughout the day. Note the number of hours of direct sunlight the spot receives. Ideally, kale should receive at least six hours of direct sunlight daily. If your chosen site doesn’t meet this requirement, consider areas with morning sun or dappled shade throughout the day.
Choose a Sun-Drenched Spot
When selecting a spot for your kale, choose a location with the most sunlight exposure. Sunlight is essential for kale leaves’ proper growth, development, and flavor. The more sunlight the plants receive, the more energy they can convert into chlorophyll, resulting in lush, vibrant green leaves. Sun-drenched spots help boost the plant’s overall vitality, making it more resistant to pests and diseases. Aim to place your kale garden in an area that maximizes sunlight exposure for optimal results.
Consider Natural Shade
While kale prefers full sun, it can tolerate some shade, especially in hotter climates or during the peak of summer. Natural shade from nearby trees or taller plants can provide some relief from scorching sun rays, preventing the kale plants from wilting or becoming stressed. However, please be careful not to place your kale plants in dense, continuous shade as this can hinder their growth and reduce overall productivity. Finding the balance between sunlight and shade will help your kale thrive in various weather conditions.
Watering and Fertilizing
Establishing Watering Routine
Proper watering is crucial for the health and productivity of kale plants. Aim to establish a regular watering routine to provide consistent moisture without waterlogging the soil. Kale plants have shallow roots, so frequent, shallow watering is ideal. It’s best to water early in the morning or late in the afternoon to minimize evaporation and allow the foliage to dry before evening, reducing the risk of fungal diseases. Monitor the soil moisture levels regularly and adjust your watering schedule based on weather conditions and the stage of plant growth.
Applying Adequate Moisture
Kale requires a consistent supply of moisture to thrive. Aim to keep the soil evenly moist but not waterlogged. Applying a layer of organic mulch around the base of the plants can help retain moisture, prevent weed growth, and regulate soil temperature. When watering, ensure that the water penetrates deeply into the soil, reaching the roots. A drip irrigation system or soaker hose can provide a slow, steady supply of water directly to the roots, reducing water waste and ensuring efficient irrigation.
Feeding and Fertilizing
To ensure the healthy growth of your kale plants, it’s important to provide them with adequate nutrients. Before planting, incorporate organic matter such as compost or well-rotted manure into the soil to enrich its fertility. As the plants grow, you can supplement their nutrient needs by applying a balanced organic fertilizer every four to six weeks. Look for fertilizers labeled for vegetable gardens or specifically formulated for leafy greens. Remember to follow the package instructions for proper dosage and application methods. Regular feeding will promote vigorous growth and help your kale plants reach their full potential.
Mulching and Weed Control
Benefits of Mulching
Mulching your kale garden offers numerous benefits, making it an essential practice. Mulch helps conserve soil moisture, regulate soil temperature, and suppress weed growth. It acts as a barrier between the soil and the atmosphere, reducing water evaporation and keeping the kale plants hydrated. Additionally, mulch can help prevent soil erosion, maintain even soil moisture levels, and provide insulation during temperature extremes. Organic mulches, such as straw, grass clippings, or shredded leaves, are ideal for kale as they break down over time, improving the soil structure and fertility.
Proper Mulching Techniques
Proper mulching techniques are essential to ensure maximum benefits for your kale plants. Begin by clearing any existing weeds or debris from the planting area. Water the soil thoroughly before applying mulch to prevent moisture loss during the process. Spread a layer of organic mulch, approximately two to three inches deep, around the base of the kale plants, leaving a small space around the stem to allow for air circulation. Avoid piling mulch directly against the stems, as this can create a moist environment favorable for pests and diseases.
Weed Prevention and Control
Weeds can compete with your kale plants for essential nutrients, water, and sunlight. Therefore, implementing effective weed prevention and control methods is crucial. Mulching, as mentioned earlier, plays a vital role in suppressing weed growth by smothering emerging weed seedlings and preventing them from accessing sunlight. If weeds do manage to appear, promptly remove them by hand, taking care to extract the entire root system. Regularly inspect your kale garden for signs of weeds and deal with them promptly to maintain a weed-free and healthy growing environment.
Pest and Disease Management
Common Kale Pests
While kale is generally a hardy and pest-resistant vegetable, there are a few common pests that can pose a threat to your plants. Aphids, cabbage worms, and flea beetles are some of the most common pests that attack kale. Aphids feed on the sap of the plants, causing distortions and stunted growth. Cabbage worms, including imported cabbage worms and diamondback moths, chew on the leaves, leaving behind unsightly holes. Flea beetles feed on the foliage, leaving small, round holes and causing significant damage. Regularly inspect your kale plants for signs of pest activity and take appropriate measures to prevent and control infestations.
Organic Pest Control Methods
To protect your kale plants from pests, it’s advisable to employ organic pest control methods. These methods are safe for both your plants and the environment. Introducing beneficial insects, such as ladybugs, lacewings, or parasitic wasps, can help control aphid populations naturally. You can also use physical barriers like row covers to prevent pests from reaching your plants. Additionally, handpicking cabbage worms and flea beetles from the leaves can be an effective and eco-friendly method. If necessary, you can use organic-approved insecticidal soaps or horticultural oils as a last resort, following the product instructions carefully.
Identifying and Treating Diseases
Although kale is relatively resistant to diseases, certain fungal and bacterial infections can still occur. Powdery mildew, downy mildew, and black rot are some common diseases that affect kale plants. Powdery mildew appears as a white, powdery coating on leaves, while downy mildew causes yellow or brown spots on the undersides of the leaves. Black rot manifests as dark, V-shaped lesions on the leaves, which eventually spread and cause plant decline. To prevent diseases, provide adequate air circulation, avoid overhead watering, and space plants properly. If disease symptoms appear, promptly remove and destroy infected plant parts and consider applying organic-approved fungicides if necessary.
Harvesting Kale
Determining Harvest Time
Harvesting kale at the right time ensures optimal flavor, texture, and nutritional value. Most kale varieties are ready for harvest within 55 to 75 days, depending on the specific variety and growing conditions. Begin harvesting when the leaves have reached a desirable size, typically six to eight inches in length. Pick the outer leaves from the bottom of the plant first, allowing the inner leaves to continue growing. Regularly inspect your plants and harvest as needed to encourage continuous growth and prolong the harvest period.
Harvesting Individual Leaves
For a steady supply of fresh kale, you can harvest individual leaves as desired. Use a sharp knife or scissors to cut the outer leaves, leaving the small, inner leaves intact. Harvesting individual leaves allows the remaining leaves to continue growing, ensuring a prolonged harvest season. Select leaves that are green, firm, and free from any signs of pests or diseases. Remember to wash the harvested leaves thoroughly before consuming or storing to remove any dirt or debris.
Cutting the Entire Plant
If you prefer to harvest the entire plant at once, wait until the kale has reached full maturity. To harvest, cut the entire kale plant at the base, just above the soil level. This method is suitable when you want to preserve the entire plant for a single meal or preserve a larger quantity of kale by blanching and freezing it. After cutting, remove any damaged or diseased leaves, and separate the leaves from the stem before proceeding with cleaning and storing.
Storing and Using Kale
Cleaning and Drying Kale
Before storing or using kale, it is important to clean and dry the leaves properly. Begin by rinsing the leaves under cold running water to remove any dirt or debris. Gently rub the leaves with your hands to ensure thorough cleaning. For extra cleanliness, you can also soak the leaves in a bowl of cold water for a few minutes. After cleaning, pat the leaves dry with a clean towel or use a salad spinner to remove excess moisture. Dry kale leaves will keep better and stay fresher for longer periods.
Proper Storage Techniques
Kale can be stored in the refrigerator to maintain its freshness and crispness. To store kale, wrap dry leaves loosely in paper towels or place them in a perforated plastic bag to allow air circulation. This will help prevent moisture buildup, which can lead to wilting and spoilage. Place the wrapped or bagged kale in the vegetable crisper drawer of your refrigerator, where the temperature is cool and humidity levels are higher. Proper storage techniques can extend the shelf life of kale, allowing you to enjoy freshly harvested greens for up to a week.
Creative Ways to Use Kale
Kale is a versatile leafy green that can be used in a variety of dishes. While it’s commonly added to salads and sautéed as a side dish, there are many other creative ways to incorporate kale into your meals. Consider making kale chips by tossing the leaves with olive oil, salt, and herbs, then baking them until crispy. Add kale to smoothies for an extra boost of nutrients or blend it into pesto for a unique twist. You can also use kale leaves as a nutritious alternative to traditional wraps for sandwiches or tacos. Let your imagination guide you, and explore the countless possibilities of using kale in your culinary creations.
In conclusion, growing kale can be a rewarding experience. By carefully selecting the right variety, preparing the soil, starting from seeds, providing adequate sunlight, watering and fertilizing properly, implementing mulching and weed control techniques, managing pests and diseases, harvesting at the right time, and storing and using kale in creative ways, you can enjoy an abundant harvest of this nutritious leafy green. Whether you’re a seasoned gardener or a beginner, following these comprehensive steps will guide you towards successfully growing and enjoying kale in your own garden.
Kale Seeds
Explore Kale Seeds